How to Scrape and create WordClouds
WordCloud is a visualization of the frequency of words in a given text. Certain words appear bigger than the other when their frequency of occurrence is higher. WordClouds may not be an appropriate visualization method in context to the importance of words in a given text. Here, let’s see how to create WordCloud from data that is scraped from a website using Python. Step 1 is Scraping and step 2 is creating WordCloud. First, let’s obtain the text that we need to create the WordCloud from. Here we are going to create a WordCloud on Algorithms and Data Structures. We are going to take the list of these words from the wiki: here
1.Scraping:
We need to install BeautifulSoup package to parse the HTML document.
pip install beautifulsoup4
Import necessary packages
from bs4 import BeautifulSoup
import urllib
“urllib” is used to open URL and to retrieve information from the internet.
url ="https://en.wikipedia.org/wiki/List_of_terms_relating_to_algorithms_and_data_structures"
headers = {'user-agent':'Mozilla/5.0 (X11; Linux x86_64) AppleWebKit/537.36 (KHTML, like Gecko) Chrome/62.0.3202.94 Safari/537.3'}
“headers” are optional parameters, but there some sites that won’t allow you if you don’t legitimate headers. Read more about headers and it syntax here
req = urllib.request.Request(url, headers=headers)
data = urllib.request.urlopen(req).read()
“urllib.request.Request” is class which is an abstraction of URL request where operations can be done before the actual request is made.
soup= BeautifulSoup(data, "html.parser")
The read data ie, the HTML content is now parsed using BeautifulSoup. Now take a look at the website that we need to scrape.


What we need to extract is those highlighted and the other list of algorithms. We need to take a look at the HTML code to identify the “div” in which this is contained by inspecting the element.

The info is contained in the highlighted “div”.
main_content= soup.find("div", attrs= {"id" : "mw-content-text"})
All the words that we need are bullet listed one. Thus obtaining the data contained with < li > tag is enough to obtain it as shown below.

lists = main_content.find_all("li")
Now we got the data contained within < li > as a list. But in order to create WordCloud, we need data as a string.
str = ""
for list in lists:
    info= list.text
    str+=info
2. Creating WordCloud
Install WordCloud package
pip install wordcloud
STOPWORDS are words that we do not want to appear in the WordCloud. Wordcloud module contains a list of predefined STOPWORDS like “is”, “are”, “the” etc.. which frequently appears in a text but is not relevant for text processing.
from wordcloud import WordCloud, STOPWORDS, ImageColorGenerator
import numpy as np
from PIL import Image
import matplotlib.pyplot as plt
We can add words to the existing list of STOPWORDS
STOPWORDS.update(["see","common"])
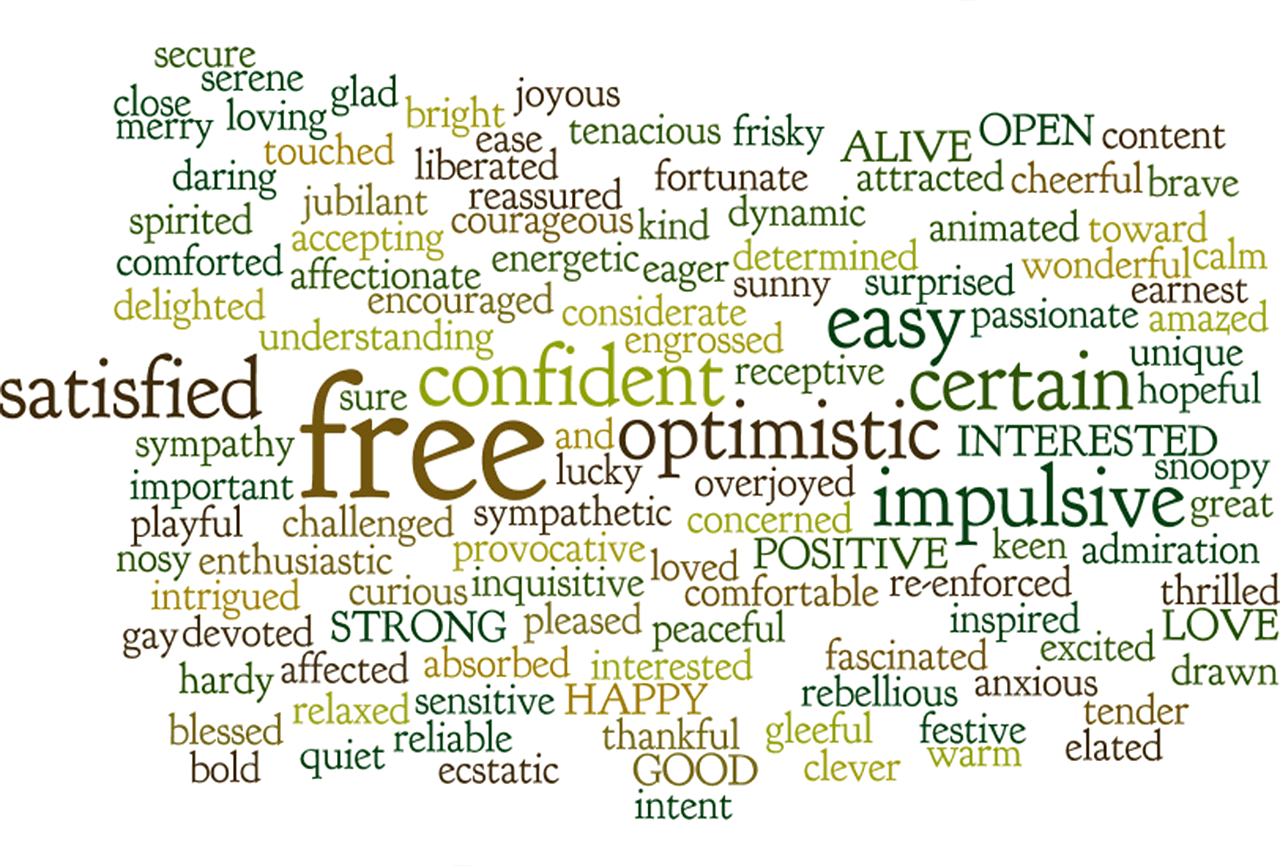
WordClouds can be created in any shape. Rendering the shape of an image to the WordCloud is called masking. For that, we need to convert the image into a numpy array.
mask = np.array(Image.open("Desktop/big.png"))
We can also render the same colour as that of the image to the WordCloud. For that we use ImageColorGenerator.
color= ImageColorGenerator(mask)
We pass “mask” as one of the parameters to create WordCloud. max-words indicates the maximum number of words that must be included in the WordCloud.
wordcloud = WordCloud(width=2200, height=2000, max_words=400,mask=mask, stopwords=STOPWORDS, background_color=”white”, random_state=42).generate(str)
The first line of code below recolours the WordCloud with the colour of the mask. And this gives the desired output
plt.imshow(wordcloud.recolor(color_func=color),interpolation="bilinear")
plt.axis("off")
plt.show()

If we desire to save the image:
wordcloud.to_file("Desktop/wordcloud.png")